Saturday, March 28, 2015

chaos mechanism

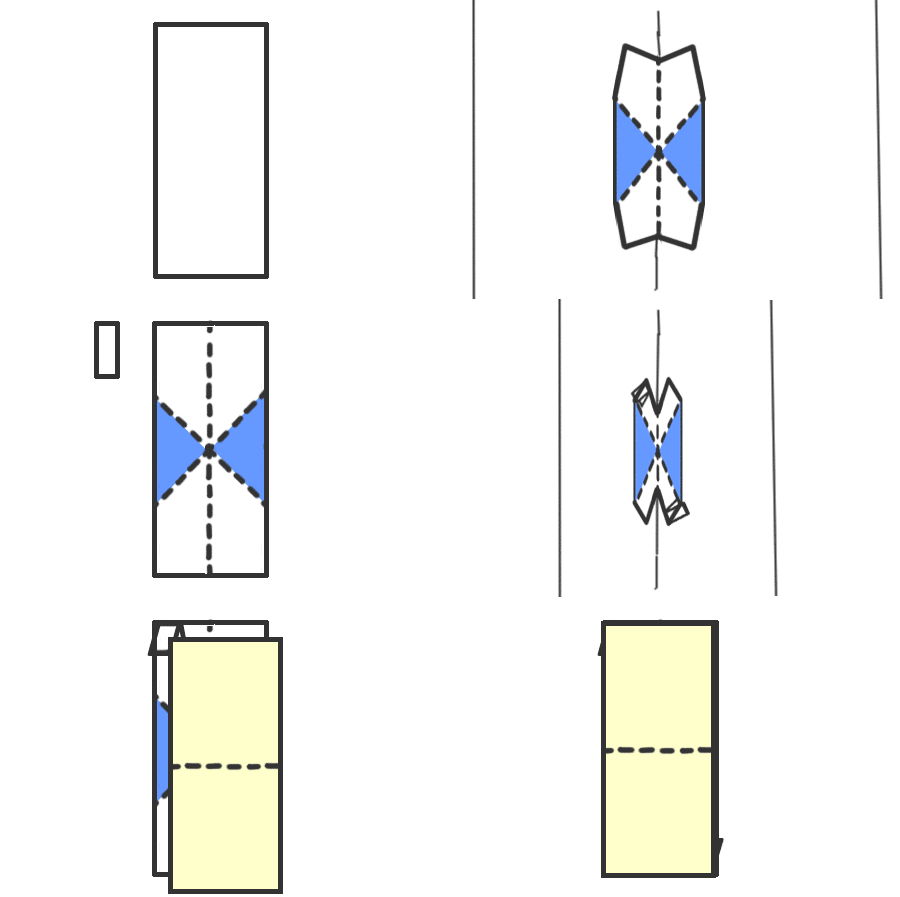
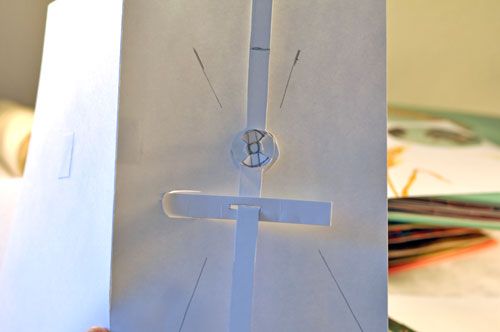
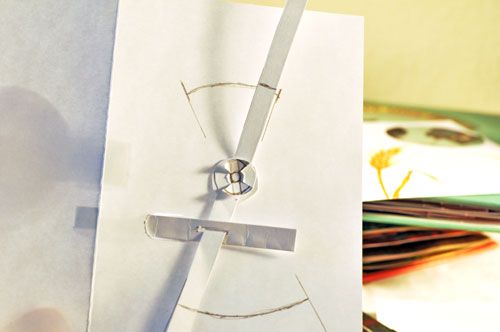
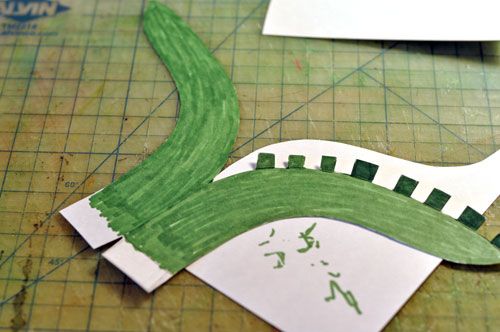
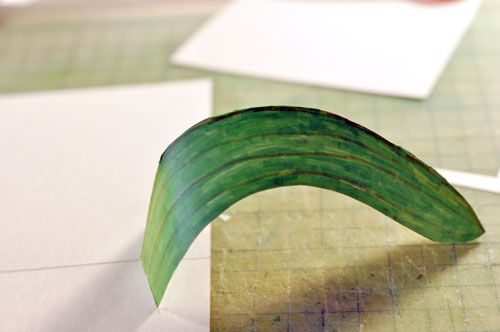
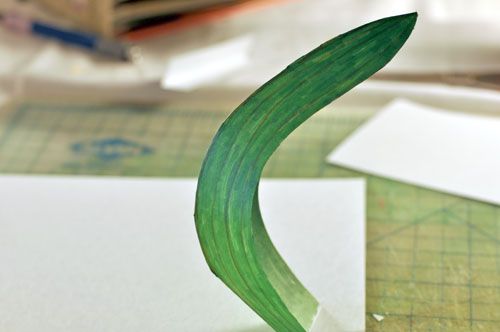
This mechanism is two standard V mechanisms cut out as short as tree trunks facing each other on the central fold as arrows pointing to each other.

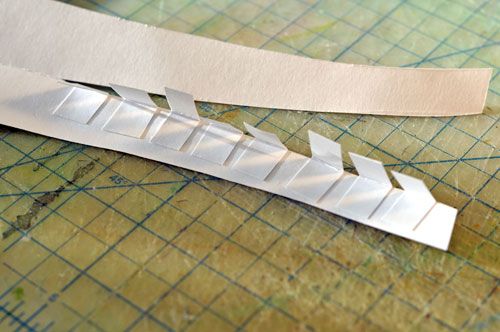
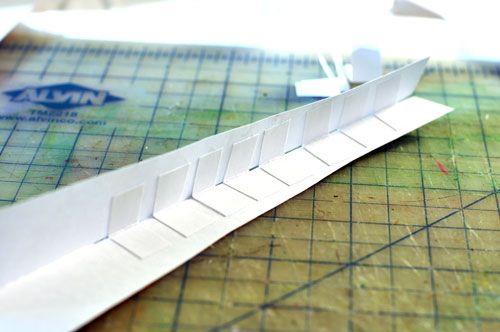
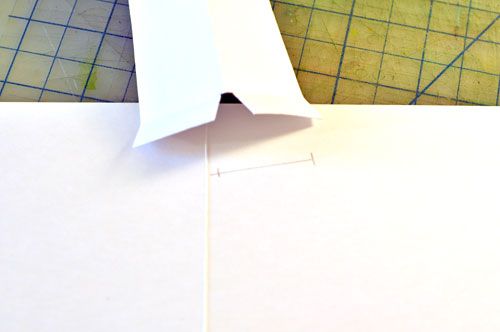
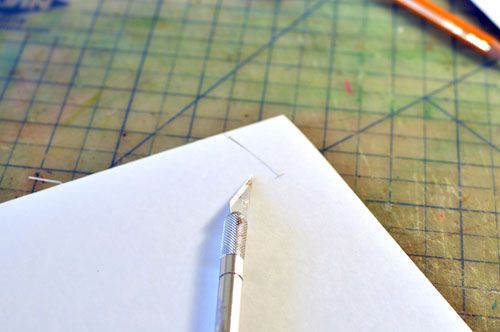
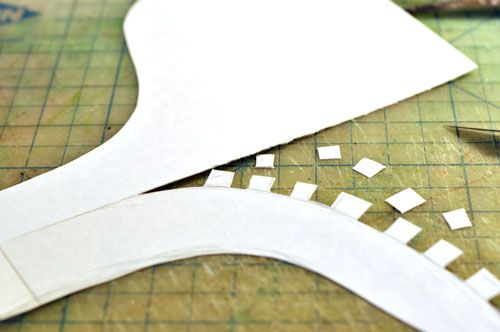
Built separately, their glue-tabs are pushed through slots in the background, or trimmed or both so that they do not interfere with each other being that close. That is the basic idea of the whole thing. Somebody, that is everybody who does these things, was thinking, hey, since I can use the V to lift, say, lily pads toward the viewer, and I can reverse to lift lily pads away from the viewer, and I can put both onto one card at the same time, what happens if both opposite moving cranes are connected?

It turns out the connection points between the two mechanisms are limited. They can be arms that stretch a string between them. A new surface can be connected at opposing points on the diagonal and that is pretty much it.

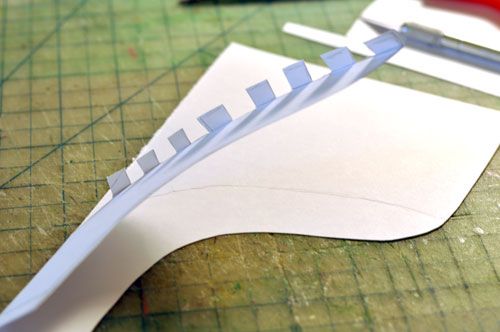
It turns out, after making two such V mechanism that the whole thing can be cut out as one in stead of two. The only thing that changes is the shape of glue tabs.


This smaller inset card that twists when it opens is a new surface that content can be glued onto. It is used to fling easter eggs. 

Saturday, September 13, 2014

4th page construction, grasshopper pop-up card

This page describes two mechanisms that produce four movements.  The action occurs on the  fourth page of the grasshopper pop-up card, recto and verso. The content depicts three snakes striking at grasshoppers in a mature wheat field.

The purpose of this strip is to create two crimps with arms attached that cause two separate discs, one atop the other,  to rotate in opposite directions.

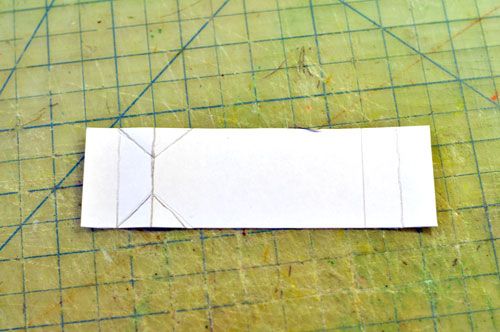
This strip creates a platform 1/2 inch high on one side of the card. A step, if you like. Considering the two pages as a single card, one end of the strip is attached to near the center of the card in this case the recto side of the card. The distance is  determined arbitrarily by the content, here, a snake that is turning, so the rotation of the two discs and the head of the snake plus the thing that the snake is striking are all considered in arriving at the length of the strip, the height of the step, and the location of the tab. It's all a bit intuitive.  The other end of the strip is glued to the opposite side of the central fold, the verso side of the card, exactly 1/2 inch away from the central fold. So now a step is formed exactly 1/2 inch high when the card is held  with one side straight up like a book on the table exactly half opened at 90
° it will be a step glued into place with two tabs, a fully compressed accordion when closed and fully extended when opened. 


Two crimps facing each other are creased into the outer corners of the step.  Tiny paper arms are attached to 1/2 of each crimp.  Opening and closing the card causes the crimps to open and close which in turn causes both tiny arms to swing 45° in opposite directions.  Discs attached to the arms appear to rotate by 45
°. The combined movement of two discs rotating  in opposite directions has the visual impact of 90° of total snake movement and that is considerable for a simple pop-up card. 


A snake pattern is drawn on the disks so that when they turn it appears as if the snake is uncoiling. It's eerie! The bottom disc is slightly larger than the top disk so that its edges show. The center of the bottom disk is cut out, like a donut, a torus, so that the arm attached to the top disc can pass through.  Now, why not just glue the discs directly to the crimps? Try it and see, the crimps fold inward and must take the discs with them. The arms allow the discs to lay approximately flat although the discs  tend to tilt when rotating. When you see the discs rotate one atop the other in opposite directions with no obvious force applied, it boggles the mind, especially with a snake pattern drawn on it, and looking exactly, and I mean  exactly like a snake silently unwinds.  The crimp device can be used for a ton of things. Whoever invented this device was a devious mind indeed. 

So there's that. One device, two movements.

The second device disappears behind the card. A stiff paper arm pulls and shoves back and forth like a piston with the movement of opening and closing the card. The stiff arm moves another arm like a lever. In this case the arm affects a paper lever with an offset pivot much like a piston attached to one side of  a see-saw with the fulcrum offset and unequal sides. The arcs produced by the arms of the pivoting lever are the same lengths, but there is more paper on the bottom and a longer arm so then an apparent longer arc but that is only because the fulcrum is offset, if it were a fulcrum.  I think. What do I look like, Euclid, over here?

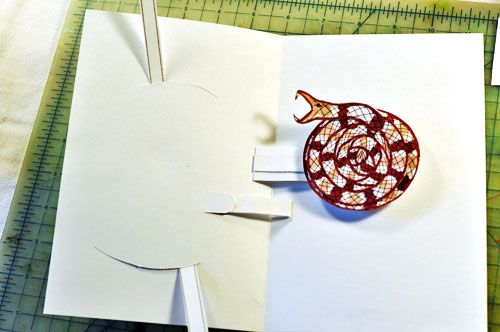
Like the strip in the fist mechanism, the stiff paper bar, the working arm, of the second mechanism is attached to the opposite side of the card. That is, the content is on the verso leaf but the arm is hinged to recto leaf. This is what makes the arm move when the card is opened and closed. The arm pulls when the card is opened, and it shoves back when the card is closed. So you can see the stress put on the tiny paper hinge. For this reason the card stock is doubled.

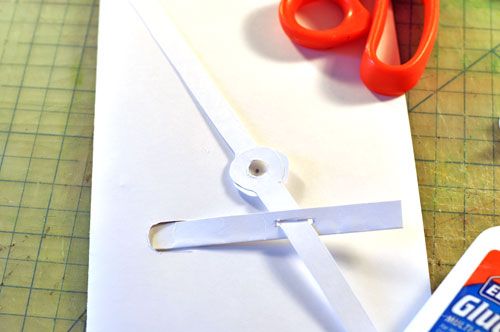
This photo is getting a little bit ahead of things, but it shows the stiffened arm attached to the recto side of the card and disappearing through a slot on the verso side of the card. The arm is located underneath the snake. So you will see the two mechanisms operating in different directions. The platform for the snake is attached 1/2 inch from the central fold on the verso side, and the post for the other two snakes is attached 1/2 inch from the central fold on the recto side. This is the essential idea of both mechanism whether on top of the card or behind it: one side of the card forces movement on the opposite side of the card. The sooner you accept this then all the sooner you enter the Halls of Advanced Pop-Uppery. I'm telling you, this is not seen anywhere else online or in any books that I am aware of.

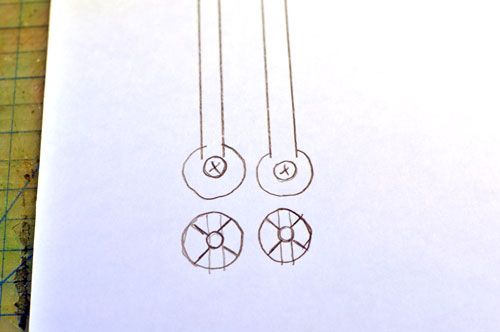
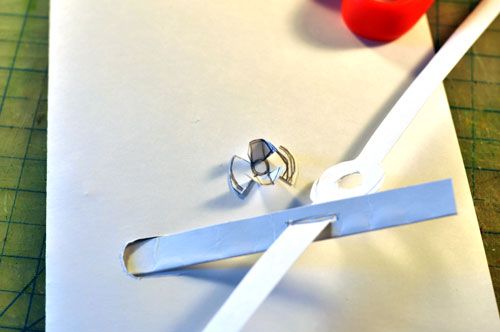
Now the back of the card where the action takes place. Originally I intended for the stiff working arm to shove two separate arms in opposite directions. So I made two arms and their paper pivots that fit through their little holes. But then I realized I could get arcs moving in opposite directions with a see-saw type construction instead. So I glued together the two arms at the pivoting circle, one hole directly above the other hole. (It turns out this had to be repeated later on so the whole thing was cut as a single unit. That too turned out to be too weak so the whole thing was redone a third time with a reinforced see-saw. These pictures are showing the original  thing)

One end of the see-saw passes through a slot cut into the working arm. The pivot point in the center of the hole in the see-saw is determined and marked on the page with a pencil through the see-saw hole. 
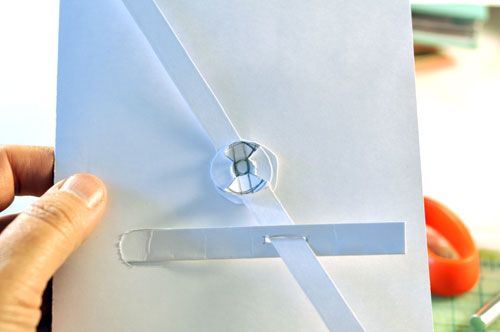
The clever little turning pin made of paper is glued to the spot marked by the pencil. This little circle with the X drawn on it like a nuclear hazard sign, cut so that two propeller-looking things are glued to the card back and the other two propeller-looking flaps are creased, folded and passed through the hole of see-saw arm is not my invention. I discovered it by fixing a few pages ofKirby the Easter Dog by George White and glueing them back together. 
This device is going to be very useful. 
You can see how the working arm behaves as a piston operating on the longer see-saw arm. The longer arm will make a longer more dramatic arc.

Remember, this is the back of the card. Card closed ↑ the top see-saw arm to the far left position (which is far right on the opposite side of the card). Card opened ↓, see-saw arm to the far right position (far left position on the opposite side of the card).
The extremes of see-saw arm movement are marked ↓.
The content on the front side of the card will be snakes striking at grasshoppers. Their placement is mostly intuited. Whatever difficulty arises must be dealt with later or maybe even another fresh start. Slits must be cut for the arcs of the see-saw tips to swing on the front side of the card. A mark is made on both tips of the see-saw and traced as the card is opened and closed ↓ in order to mark the arc. 
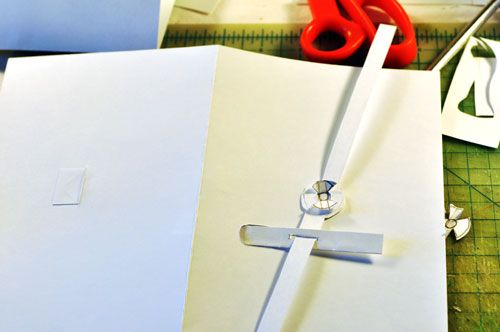
The arcs are cut ↑. Yikes! and the see-saw arms are pushed through to the other side.  Here is the same picture ↓ again already shown above to point out the working arm attached to the opposite leaf but now used to show the tips of the see-saw arms poking through their arc slits. Content is attached to the tips, in this case, snake heads striking at grasshoppers. Content is also drawn all around the arc,  the bodies of the snakes and the little grasshoppers being struck. 

2nd page construction, grasshopper pop-up card

This leaf was not used ↑.  There are six such leaves of varying shapes and lengths. Only two were colored. 

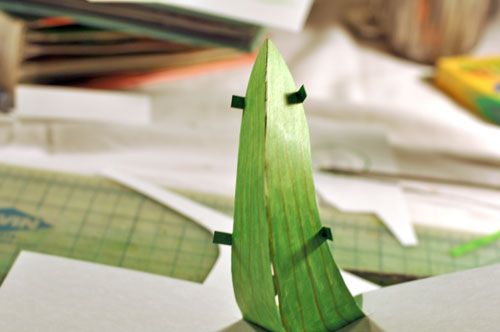
Finally I arrived at the shape I wanted ↓ that would flip the leaf off the card nearly entirely and at the right angle and still hold a grasshopper that would fit inside the card when it was closed. I went through quite a lot of card stock until I found the shape I was satisfied with. 
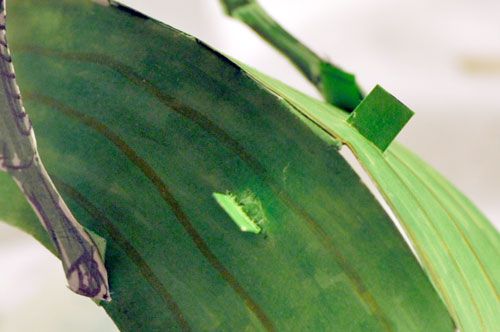
After all that, the tip still needed to be trimmed. 
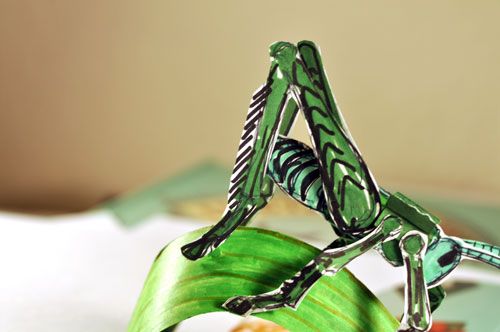
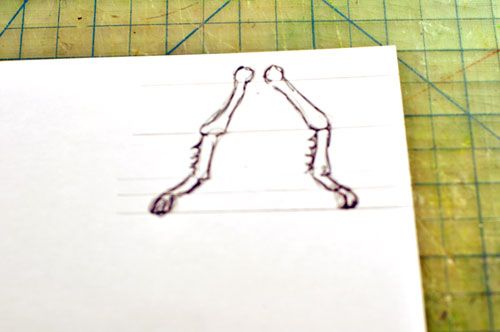
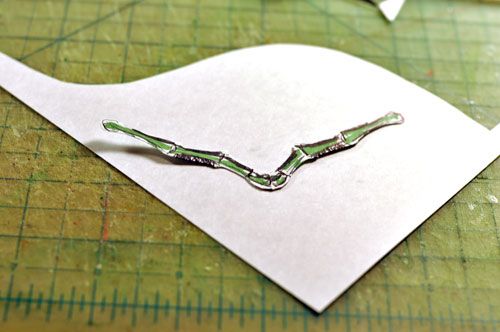
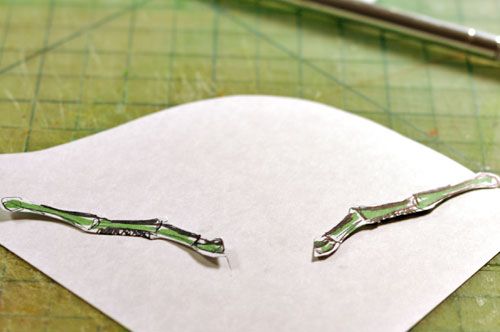
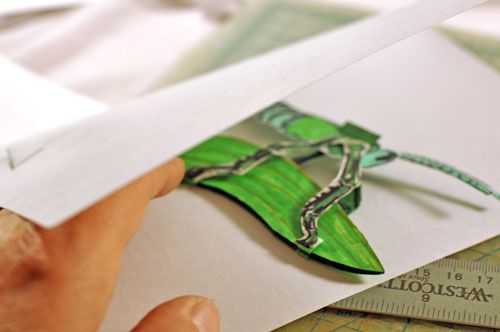
One side of front and middle legs. The card stock is doubled so all four legs are cut at once, two identical sets. They must be drawn and colored on each side so that's eight legs drawn and colored. This was done for three trials, so that's a lot of bug legs.
This is the key ↓ to what makes the legs work with the wings. It's a wonderful design with near limitless applications. It's one way to get butterfly wings to open with the card. 
A speck of glue holds on each leg. 

Once the legs are attached to the bug's body then the points on the leaf can be located and tiny tabs provided. 
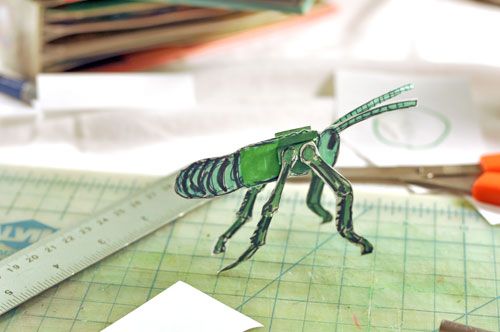
All four legs glued to the tabs ↑ in the card closed position.
Fascinatin' init. 

Now that the front four legs are attached to the bug and to the leaf, and the bug with its legs and its legs/wings mechanism  works with the leaf, then the hind legs can be attached. The hind legs aren't even drawn yet. They must not interfere with the wings that are yet to come. The hind legs are much larger than the front legs they are the distinguishing feature of grasshoppers. They can be drawn to be folded nearly shut as if ready to pounce or they can be drawn fully extended or anywhere in between. they can be attached to the leaf, or they can be provided with joints that actually work and be attached to the card, they can be parallel or they can be different as if the bug is having difficulty finding footholds. At any rate, their points of attachment are determined before the legs are drawn and colored and cut. 
I debated on the weight of paper to use for the wings. I decided on heavier card stock to encourage them to flop down and help spread. I'm still not positive I made the right decision. The tiny X mechanism will be expected to force them closed. 
The wings must fit inside the card.

second page details, grasshopper pop-up card

I'm running out of time. I didn't realize until today that this card must be delivered to San Francisco by Saturday. Monday, tomorrow, is a holiday. The card must be in the mail Tuesday morning. That leaves tomorrow for whatever further pages I can manage and for a cover. 

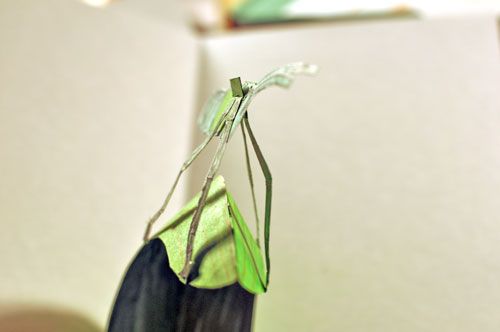
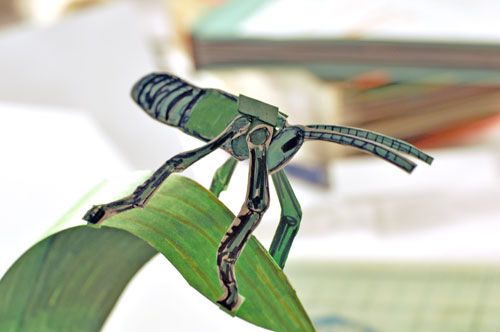
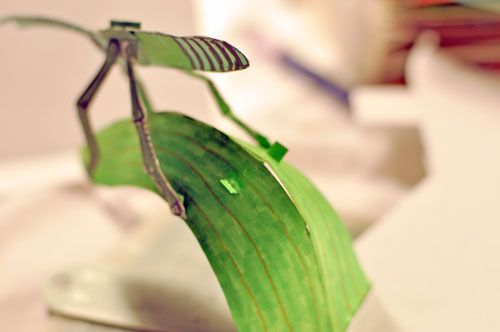
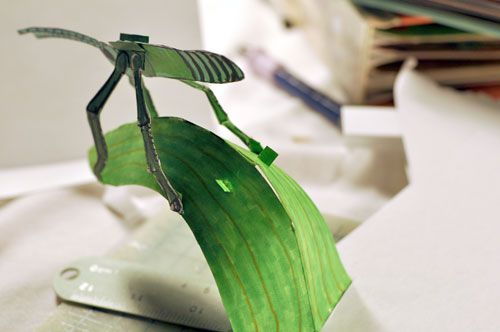
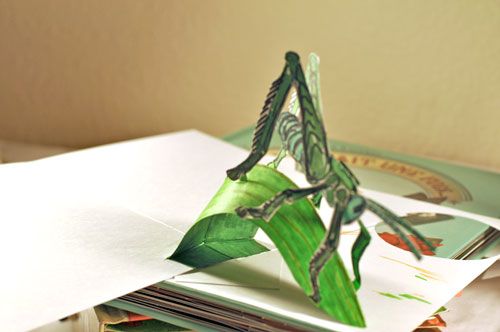
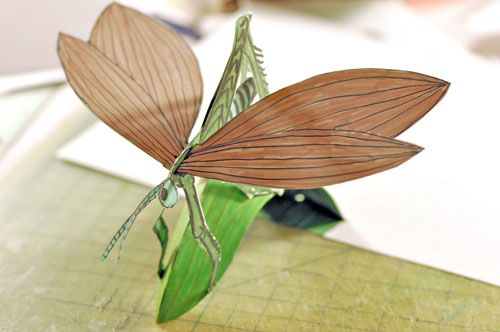
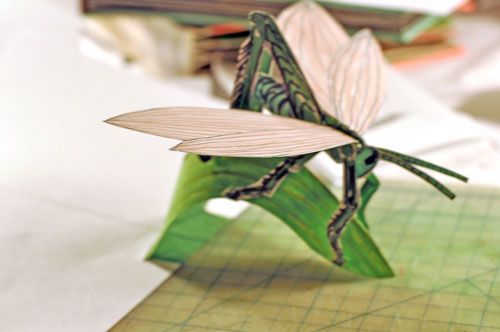
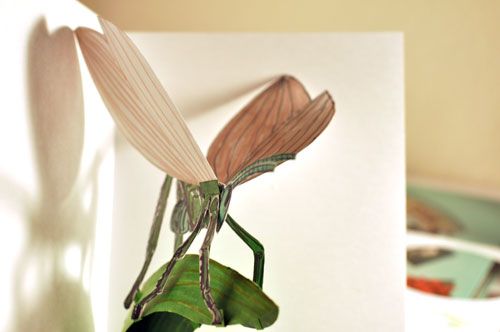
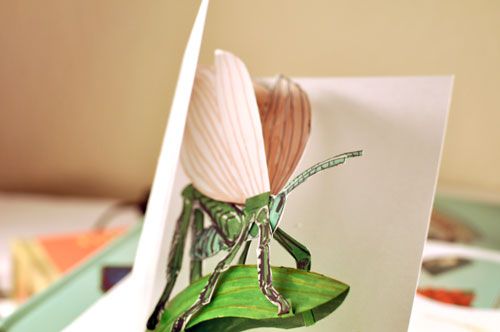
This page is similar to the first page in that is depicts a single grasshopper against a simple background. The background is not shown here. It is a single mature but still green wheat stalk with leaves. Man, I've got my wheat spike drawing act down. The difference between the two pages is this depicts the entire bug, all six legs, full body with wings spread. A broad leaf, broader than an an actual wheat leaf, lifts up, arcs outward, and plops down right off the page toward the viewer, the leaf tip even with the flat open card. The grasshopper is attached to the leaf so it appears as if the bug is jumping out of the card onto the viewers lap. The leaf is split in half lengthwise and reconnected at a curve, most unusual for pop-uppery. The legs of the bug are attached to the edges of the leaf, so when the leaf spreads open, forced by the opening of the card, then the bug's legs are forced open too. 

The bug is flat. there is an X mechanism held loosely  through the center of the bug, two sets of front legs are attached to the bottom of the X and two sets of wings are attached to the top of the X. The wings open and close as the front sets of legs spread and fold, due to being attached to the X. When the card is closed, the leaf folds back into the card, compresses together as its V collapses, forcing the legs to collapse with them, along with the wings. It's like a miracle, but it's actually the opening and closing of the card forces the base of leaf which forces the tip of leaf which forces the legs of the bug which forces the wings of the bug. 

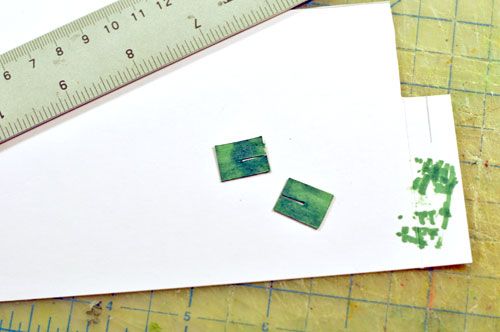
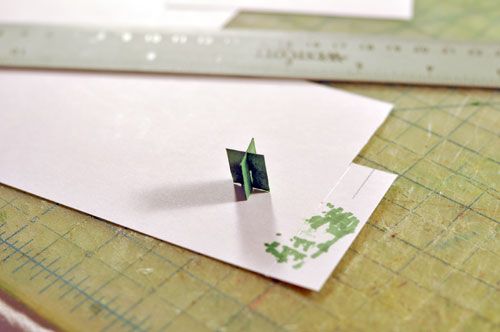
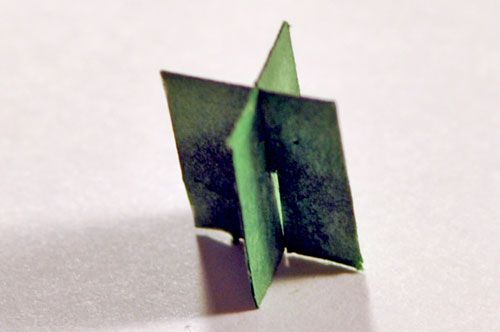
This is the X mechanism that is positioned at a slot at the grasshopper's thorax. It's made of two tiny 1/2" pieces of card stock. A slit is made 1/4" through the center of each tiny square then the slots are matched like the cardboard pieces that separate bottles in a case, if you've ever seen that and marveled how the whole thing can fold flat. Whoever thought of that is totally brill-o. 

Notice the tiny slots.
Like this:
The X is folded flat and passed through another slot made in the grasshopper. You will notice on a real grasshopper's anatomy that two sets of wings are positioned directly above the front two sets of legs. When the X is opened, then a tiny platform is created for two legs on each side on the bottom platforms and for two wings on each side on the top platforms. Now, it would have been easier to just draw two legs for one side of the bug on the same card as two wings of the opposite side of the bug and make two such cards then form an X with them, but how to get that X positioned in the proper place on the grasshopper? A slit large enough for either the legs or the wings to pass through must be made and then sealed back. I tried that, it works but it was ugly. It occurred to me I could make a tiny X then glue legs and wings to it. 

Once the bug is standing on four of its legs then their position on the leaf can be located. Tiny tabs attached at those spots first on the leaf then the bug to the tabs. 
Open and close the card to test for fit and for proper folding. Imagine my delight to discover that nothing interferes with the action and nothing sticks out beyond the edges of the card. 
More details, if you like, on the construction of this page are available here.  There were a few false starts, a few trials not photographed of various shaped leaves and angles of attachment, lengths, and so forth.